
On Monday and Tuesday, I helped record safety videos about the CNC machines and milling machines. We covered fixturing, safety, and how to use the control panel. It was interesting watching how to use the control panel because most of the buttons couldn’t be used. These buttons were used in special cases and when using special attachments. Overall, We recorded about five videos and covered most of the beginner-level skills.
The rest of the week I worked on personal projects. I worked quickly and made a SolidWorks model for a nameplate. The nameplate was a final test of sorts, I had to use the knowledge I gained from the previous five weeks to code the model and milling operations. I didn’t have trouble modeling the part, but my mentor stepped in because the milling operation would take too much time if I tried to code it. I ended up making the nameplate too complex for my skill level and watched Nate code the milling operation without many setbacks. After creating the milling operations, I created a .5-inch aluminum block for the CNC to carve. After that, Nate showed me the procedures to secure my part and transfer the milling operation Gcode to the CNC machine we were using. The Gcode is a list of coordinates and instructions that the computer in the CNC can read. Once we double-checked everything, we started the program and watched as it chiseled away at the aluminum. The end product was a nameplate in the SWAstro font that looked amazing with the factory finish. I spent the rest of the day sanding the sharp edges off and shining them up until I was satisfied.
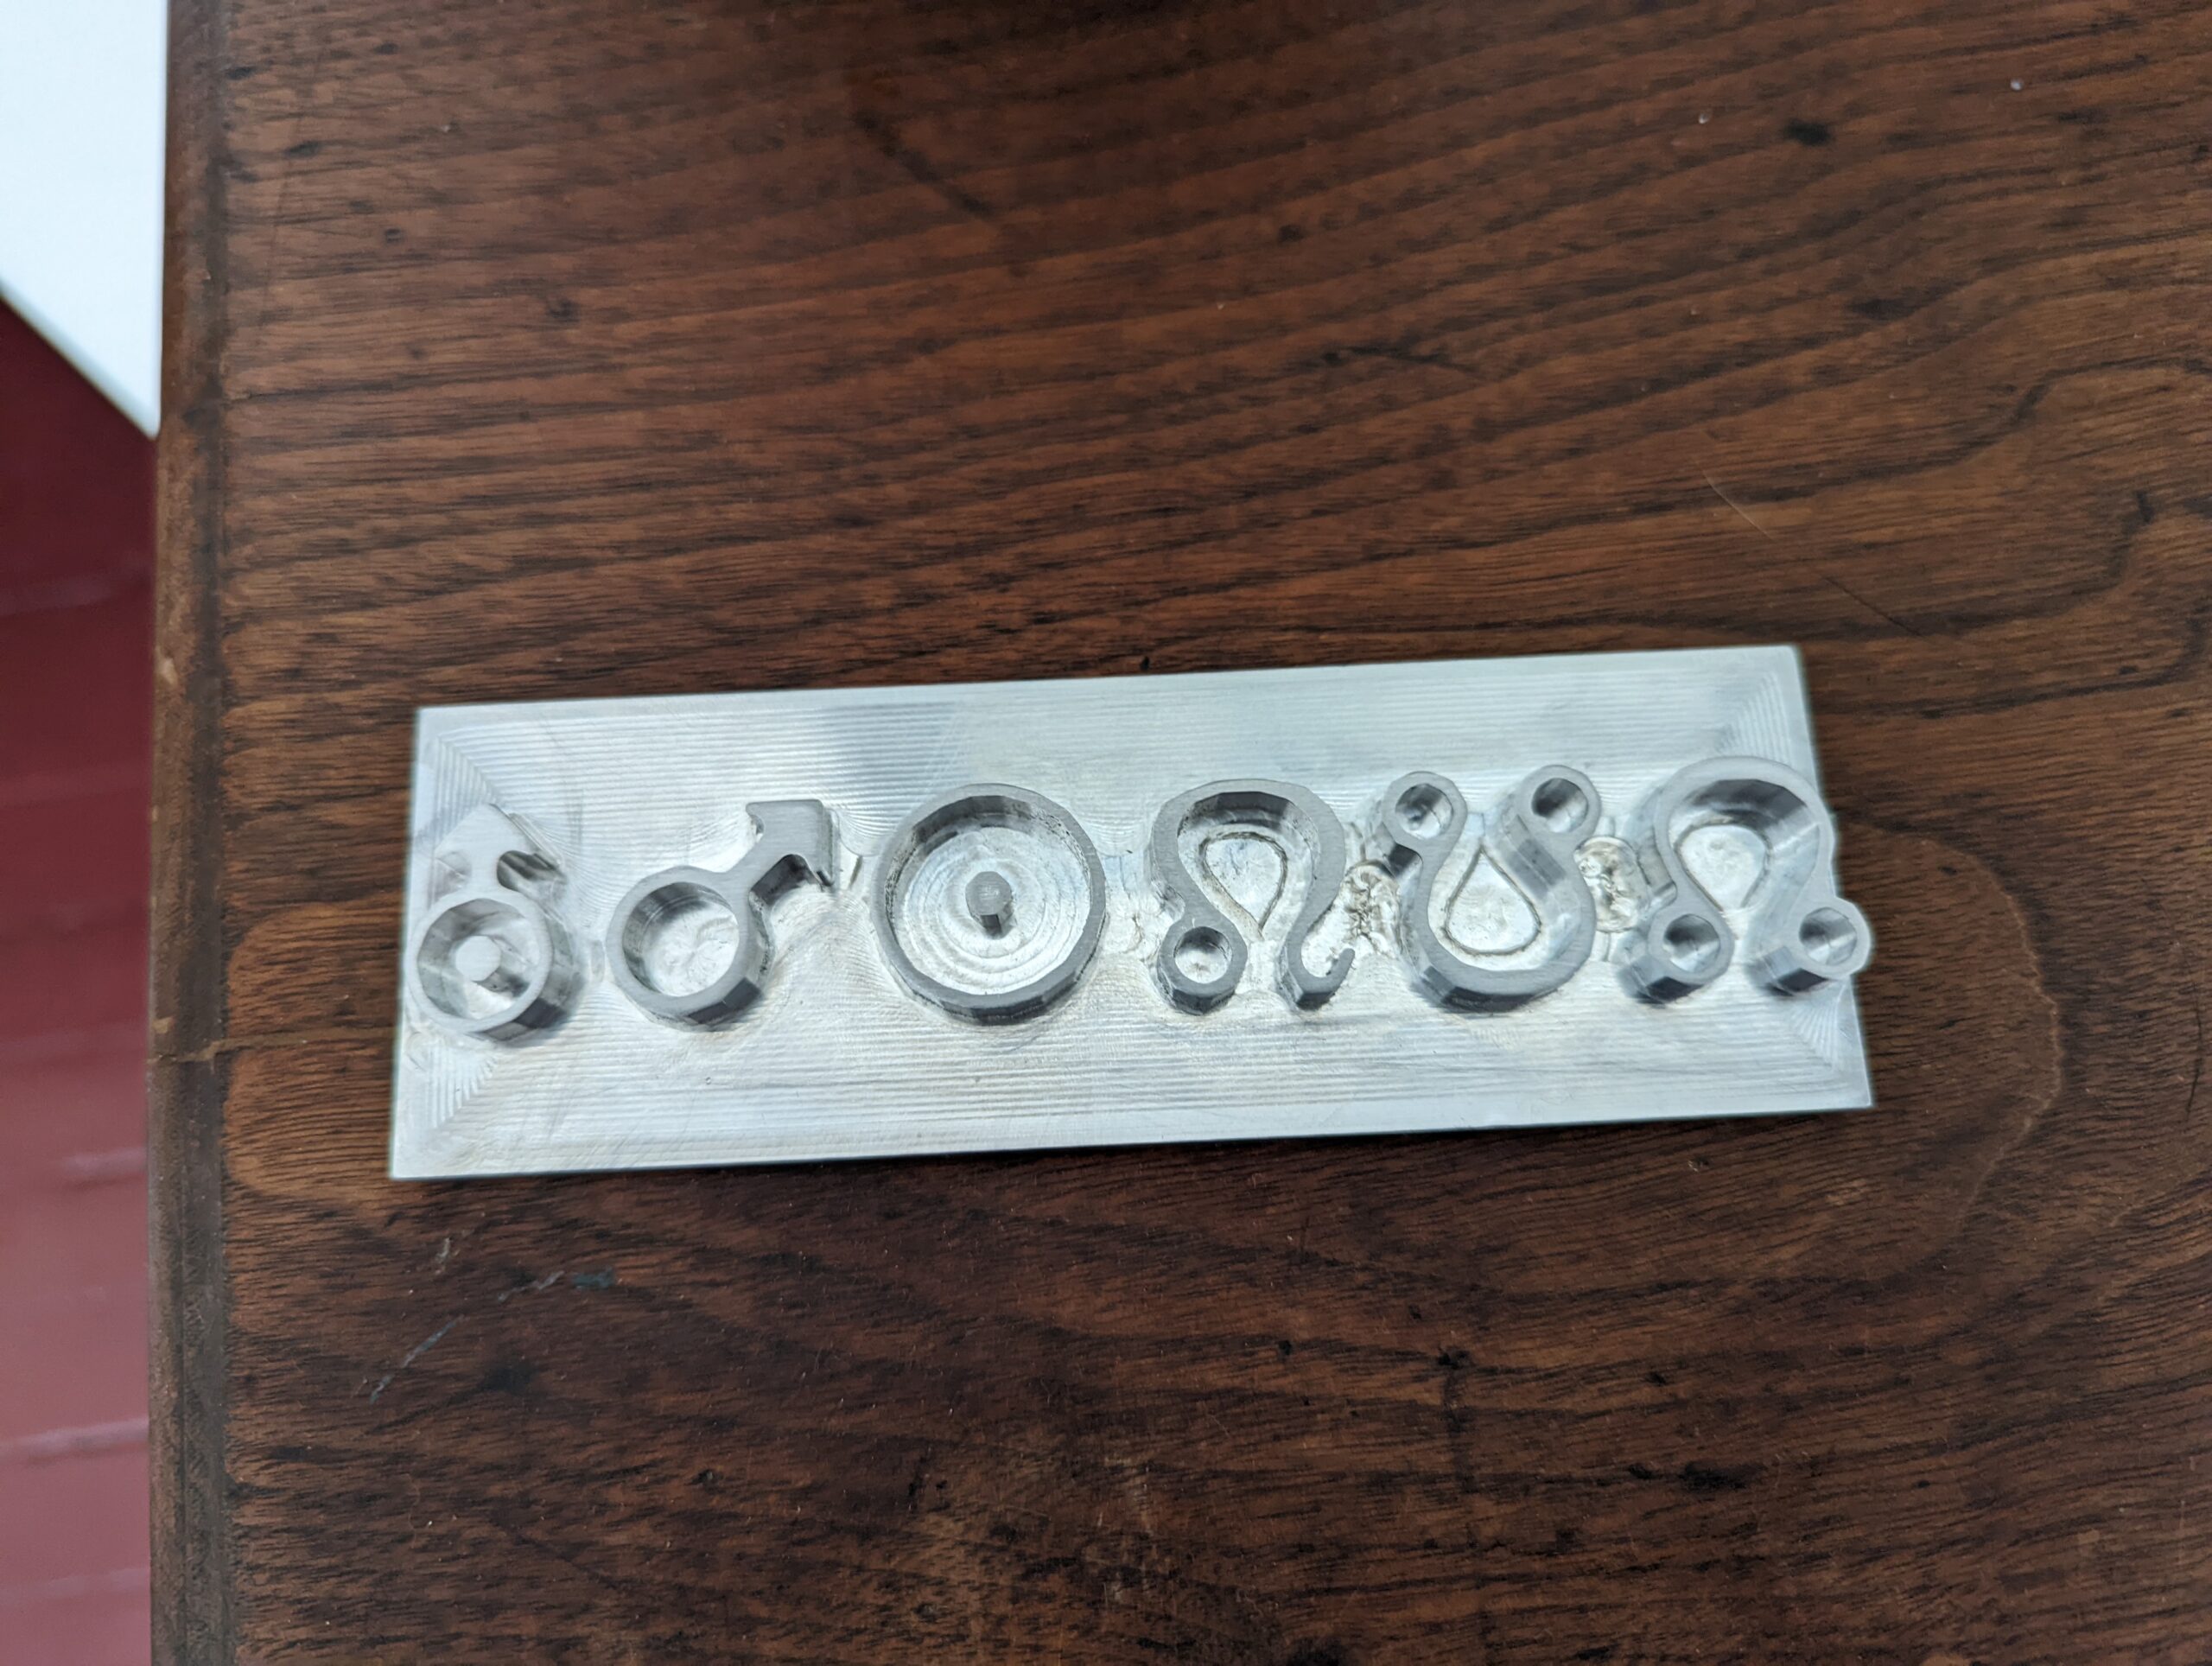
Another personal project I worked on was a ring made of bronze. I started by researching designs and settled on a flat top that I could carve whatever I wanted into. To start, I took a 1-inch diameter hexagonal bronze rod and cut it 1.5 inches off. the ring was estimated to be around only an inch, but you need material to work with in order to get the finish you want. After that, I used the mill to cut the Sagittarius zodiac sign into the base of the ring. I failed on one of the surfaces due to the predicted angle being different than the parts angle. Each surface of the hexagonal piece was at a 60-degree angle. What I needed was a 45-degree angle so I could easily carve an arrow into the ring by going in the negative Y and positive X directions. Since That wouldn’t work, I had to move the piece back and forth to ensure the arrow was made properly. After making the Sagittarius sign, I drilled the hole for a finger to slide through. I ended up making the hole .75 inches in diameter to fit my sister’s finger (I made this ring as a gift to her) and sanded down the sharp angles made from the drilling. Then, I placed the ring into a lathe and lathed the ring into shape and size. During this process, I learned how to chamfer using a lathe and the importance of going slow until you have knocked down all edges of a parallelogram. This essentially means that until the piece I’m lathing becomes a cylinder, I have to go slow to ensure the tool doesn’t break. After I was done lathing, Nate helped me sand and polish each surface so it shined and became almost mirror-like.
On Friday, my mentors took out the grill and we indulged ourselves with a delicious lunch. Matt had bought burgers and a bunch of other additions to celebrate my internship. We talked about what I did during my internship and laughed about the silly intros I did for the safety videos. Overall, I really loved working with Shae, Zach, and my mentors. They taught me so many skills and included me in so many fun activities and adventures. I couldn’t thank them enough for the wonderful memories and for showing me what it’s like being an Aerospace machinist!
There are no comments published yet.