
I have been learning so much.
Rob thinks that higher expression of a gene called SFRP5 is linked with increased fat in his genetically identical mice. Because of this, he has 6 mice that he is using to figure out the role of SFRP5 in fat mice vs. normal mice. These are the 6 mice I’m working on. Two of them are called “wildtype,” meaning they are normal, and have the SFRP5 gene intact. Two of them are called “knockouts,” meaning that the majority of the SFRP5 gene has been removed, or “knocked out.” Two of them are heterozygous, meaning they have one knockout allele and one wildtype allele.
In the last post, I told you that we isolated DNA from the six mice I’m studying. Isolating the DNA was the first step that we had to take in order to genotype the mice. The purpose of genotyping the mice was to make sure that the mice had the correct genotype for SFRP5. For example, we had to make sure that the knockout mouse was, in fact, a knockout mouse, and not a wildtype.
The next step after isolating the DNA was finding the concentration of DNA in each of our samples. We did this because we needed to make each sample have the same concentration when we put them in the PCR machine (I’ll explain the PCR in a bit!). We used an apparatus called a NanoDrop (Later in the post, I have pictures of the Nanodrop so you can see what it looks like!), which is a spectrophotometer, to measure the concentration of DNA in each sample. The NanoDrop is convenient because it only requires about 1.6 microliters of each sample. 1.6 microliters is a tiny little bead of liquid, smaller than a raindrop! Using a pipette, we carefully put a small sample of DNA solution into the NanoDrop. It then shone UV light through the droplet. DNA absorbs a different frequency of UV light than proteins do, so the NanoDrop uses the ratio between the different frequencies absorbed to determine the concentration of the solution! I thought it was a pretty handy tool. We used the concentrations to do some quick calculations to figure out how much diluent to add to each sample so that we could dilute them to be all the same concentration.
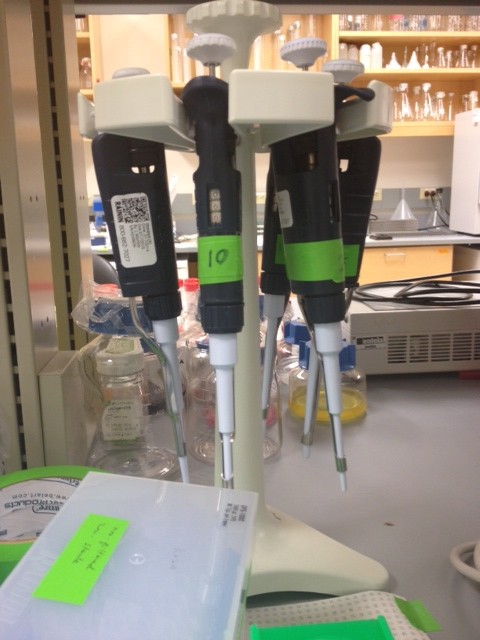
These are pipettes, so you can know what they look like!
After that, Rob used his awesome pipette skills to create a “mastermix.” He added some of his mastermix to each DNA sample and we put the samples into even tinier tubes. Then, they went into a PCR machine. PCR stands for Polymerase Chain Reaction, and what it basically does is it replicates a certain part of DNA many many times. Rob took some time to explain to me how the PCR worked, which was extremely interesting. I’ll briefly explain to you how it works:
There are three steps that the PCR follows to replicate a section of DNA.
1. The first phase is called denaturing. This is where the PCR heats up the DNA to a very high temperature so it splits longways.
2. The second phase is called annealing. This is where things called “primers” (they are an ingredient in the mastermix. I don’t know how to conceptualize them, I’m still kind of confused!) bind to the parts of the split DNA that are going to be replicated. This makes them act as a template, and they tell the enzyme what part of the DNA to replicate. In this case, we included primers that matched the SFRP5 gene, because that was the gene we were testing.
3. The third phase is called extension. This is where an enzyme called TAQ polymerase (also an ingredient in the mastermix) completes the other side of each half of the split DNA. After this, there are now two complete strands of the DNA, and the amount of DNA has been doubled. TAQ polymerase comes from bacteria that live in extremely hot water. It is used because it can withstand the high temperatures of the denaturing phase.
These three phases are repeated 35 to 40 times. With each cycle, the PCR doubles the amount of DNA, enabling it to make a very large number of copies.
After running the PCR, we put the samples in a gel and ran an electric current through it.
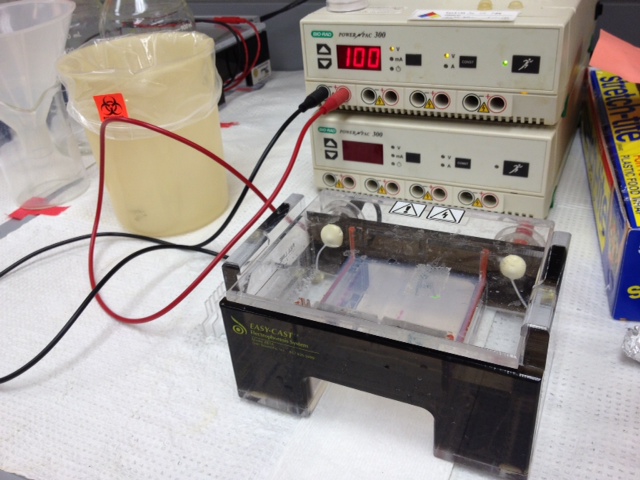
This is the gel hooked up to the electricity! We had to pipette the samples into the gel, and I completely messed up my sample! It was okay though it still worked because it was only water as a control, and not DNA.
This separated out some components, and when we shone UV light on it, we could read the genotypes of the mice. We had two controls: we had a mouse that we knew was a wildtype, and we had a mouse that we knew was a knockout. We could then match the genotypes of those mice to the genotypes of the experimental mice to determine each mouse’s genotype.
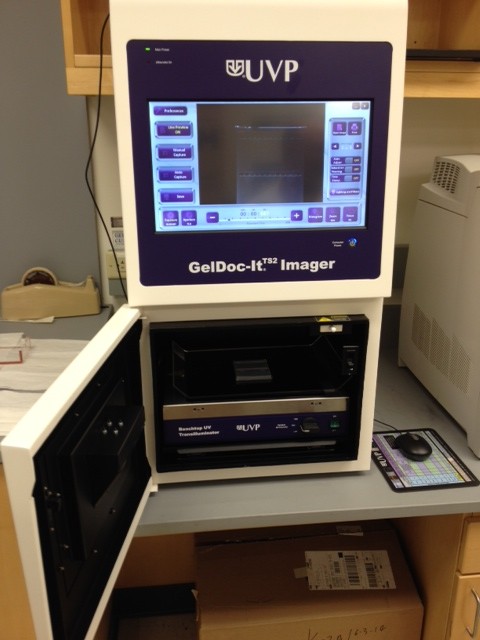
This is the machine we used to shine UV light onto the gel samples. We put the gel in the bottom compartment, and then we viewed the samples through the screen on the top.
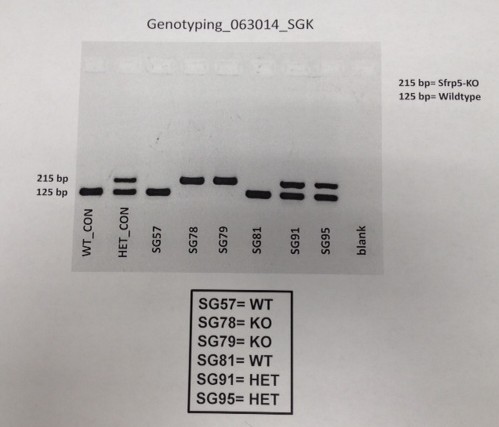
This is the data we got from the genotyping. A mark on the top row meant that the mouse was a knockout. A mark on the bottom row meant that the mouse was a wildtype. A mark in both rows meant the mouse was heterozygous.
And that was the result of our genotyping! Yay! We knew which mouse was which, and we knew we were dealing with the right mice!
After genotyping the mice, we started doing the same thing with RNA instead of DNA to measure gene expression. All I have done so far with this is extract RNA. The process is very similar to extracting DNA, but some things were different. For example, we had to keep the samples frozen, even when handling them. We did this by keeping the tubes in dry ice whenever they weren’t being stored in the freezer. When we had to mash the frozen tissue samples into a powder, we had to mash them in a bowl filled with liquid nitrogen.
After mashing the tissue samples from each mouse and adding the powdered bits to a pink solution in test tubes, we had to homogenize the samples, which blended the mixture with the tissue into even smaller bits, so it was essentially dissolved. We did this with a machine that had a prong that vibrated and fit perfectly into the test tube. Here is a video of Rob using the machine so you can see what it looks like:
After that, I worked with Rob’s assistant, Rea, to isolate the RNA. Rea works very quickly and efficiently, and it’s easy to tell that she has a lot of practice working in the lab. She is also very smart. She let me do about half of the pipetting, which made me excited because that means I’m getting better at it! At first, I didn’t even know what a pipette was! I was so proud of myself because I didn’t mess up once! We did lots of pipetting, and lots of centrifuging. The centrifuge is a machine that spins really fast, so when you put your test tubes in it, it separates out the contents of a liquid based on density. We used the centrifuge to separate our samples into layers of liquid, so that we could carefully use a pipette to isolate the layer that we wanted to keep.
Once we isolated the RNA, we used the NanoDrop again to measure the concentration, quantity, and purity of the RNA. All of our samples came out perfectly, which meant that we had good quality RNA and that we did a good job isolating our RNA. That made me happy, because it means that I didn’t mess up and I did what I was supposed to! There are so many opportunities to make an error when working in the lab, and it makes me really nervous, but I am starting to feel more comfortable and confident as I’m settling in.
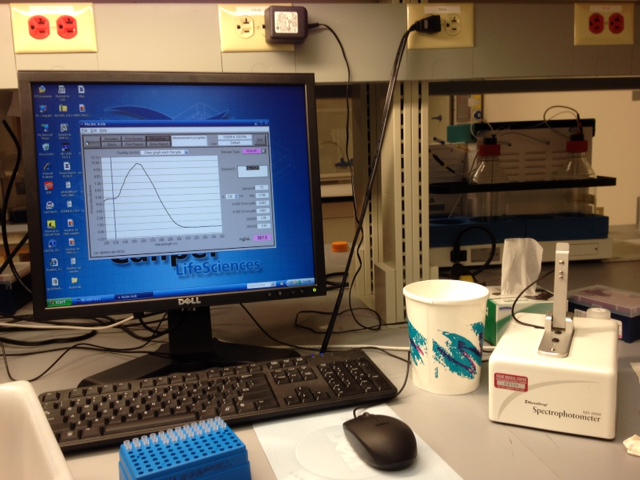
The NanoDrop is on the right. It is hooked up to the computer, which shows our results, measuring the purity, concentration, and quantity of RNA in each sample.

This is a closer look at the data we were looking at from the NanoDrop.
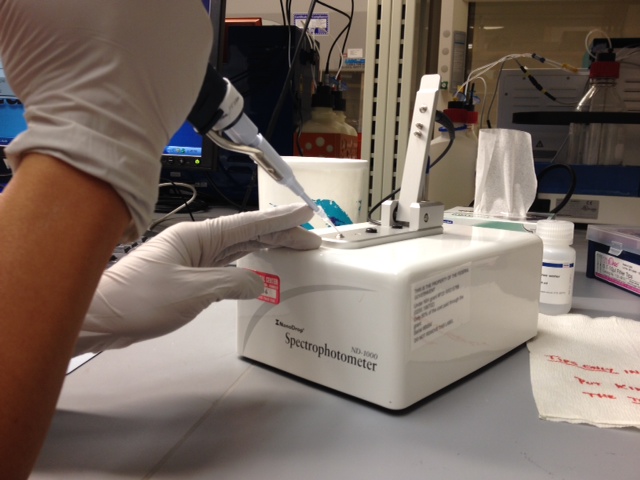
This is a picture of Rea using a pipette to put a tiny droplet of an RNA sample onto the NanoDrop Spectrophotometer. Rea let me pipette most of the samples onto the NanoDrop, and it was really fun! I was proud of myself, too, because she thought I was good enough at pipetting that she trusted me not to mess up!
That is where we left off in the lab. Outside of the lab, I’ve been having lots of fun. I’ve been running a lot, we went for a hike (it was very short because Maine is quite flat, but it was still fun! Colorado mountains are definitely where it’s at, though), and on a rainy day my host mom took me, her daughter Emma, and Emma’s friend to the mall! It rained on the Fourth of July, so the fireworks were cancelled and we didn’t go to a parade, which was sort of sad. We played a little tennis, but had to stop because we were getting rained on. Today, we went to my host dad’s family’s little house by a small lake, which was fun. I kayaked around and explored the lake, and then we all took a canoe out to a big rock in the center of the lake. We scrambled up it and jumped off into the water, which was so much fun!
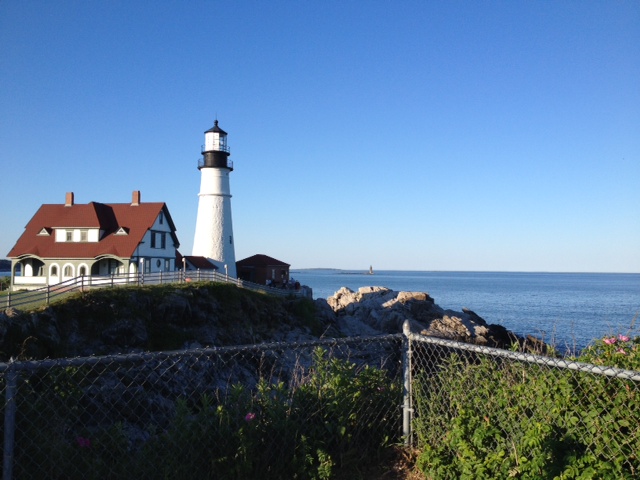
Rebecca and Scott, my host parents, took me to a lighthouse!
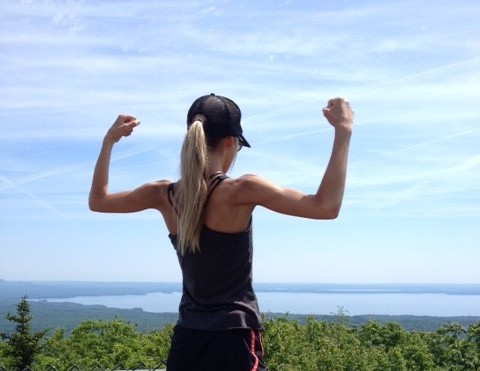
This is me at the top of our hike!
Also, on Monday morning, I took a tour of another branch of Maine Medical Center. It was the simulation center, where they have mock-hospital rooms that they use to train people to be doctors. They are fully equipped rooms, and they have extremely sophisticated dummies for the students to practice their procedures on before they perform them on real humans. Some of the dummies are so technologically advanced that they cost $250,000! They breathe, they can mimic a plethora of abnormal heartbeats through a stethoscope, and some can even respond to anesthesia and other drugs. They can even be used to practice simple procedures, like inserting an IV. It seemed like a very valuable educational resource. It would have been awesome if I took some pictures of all the crazy equipment, but I was being a poop that day and I forgot my phone, so I hope my explanation will suffice.
That’s it for this week. Wow. That was a long blog. I hope I kept your attention to the end. There’s just so much to tell! Bottom line, I’m settling in at the lab so I’m more comfortable. It’s kind of like learning a new language, but I’m slowly picking it up. It’s a terrific challenge, and because it’s so challenging, I’m learning a lot! And my super easy 9:00am-2:00pm hours give me ample time to have fun and enjoy Maine!
Need to send my new old girlfriend, Marilyn up there; assess her genotype; help her regain the missing SFRP5 (or human equivalent) gene from her DNA, so that she can drop at least 50 pounds!
Sounds like you are doing great up there, dear girl. Keep it up.
Uncle Brad
Bine,
Everything you are doing sounds so interesting. I’m so glad you have been given this opportunity to expand your learning experiences during the summer. I love the picture of the lighthouse you visited. Maine looks like an awesome place to visit. Have fun!!
Love you,
Grann
Wow Nine! You are not messing around! This sounds fascinating ( and confusing ). I am so amazed and impressed and hope that you enjoy this experience. Sure do miss you!!
Bine, you are a shining star! I am so excited to read about your once-in-a-lifetime experiences at the MMRCI!! You make me proud!
what you are doing is so advanced i can’t understand it!
I’m speechless……..except for the part about the lake…….I got that….then it was downhill from there.
Wow…are you ever learning tons!!!! This will really help in deciding what you want to do in the future. Will forward to daughter Dr Cari as she will actually understand all of this…We miss you.. Love Auntie Pat